If you've ever picked up a handmade pouch or display mat and admired the neat, looping stitches along the edge, chances are you were looking at a blanket stitch. This simple but elegant technique is one of the most versatile finishing methods in any maker's repertoire, and it's a cornerstone of the Wook Wear aesthetic.
What Is a Blanket Stitch?
The blanket stitch is a hand-sewing technique that wraps thread around the raw edge of fabric, creating a series of evenly spaced loops that both secure the edge and look beautiful. It gets its name from its traditional use on wool blankets, where it prevented the cut edges from unraveling. Unlike a simple whip stitch, the blanket stitch creates a perpendicular bar along the edge that locks each loop in place.
Step by Step
Start by threading your needle with about an arm's length of thread. Anchor your first stitch by coming up through the fabric about a quarter inch from the edge. Now here's the key move: insert the needle from front to back, a quarter inch to the right and right at the edge. Before you pull the thread through, loop it under the needle tip. When you pull tight, you'll see the characteristic L-shaped stitch form along the edge.
Repeat this process, keeping your stitches evenly spaced. Consistency is everything. Try to maintain the same distance from the edge and the same spacing between stitches throughout. Most makers aim for stitches about three-sixteenths to a quarter inch apart, but you can adjust this based on your thread weight and the look you're going for.
Why It Matters for Pouches and Mats
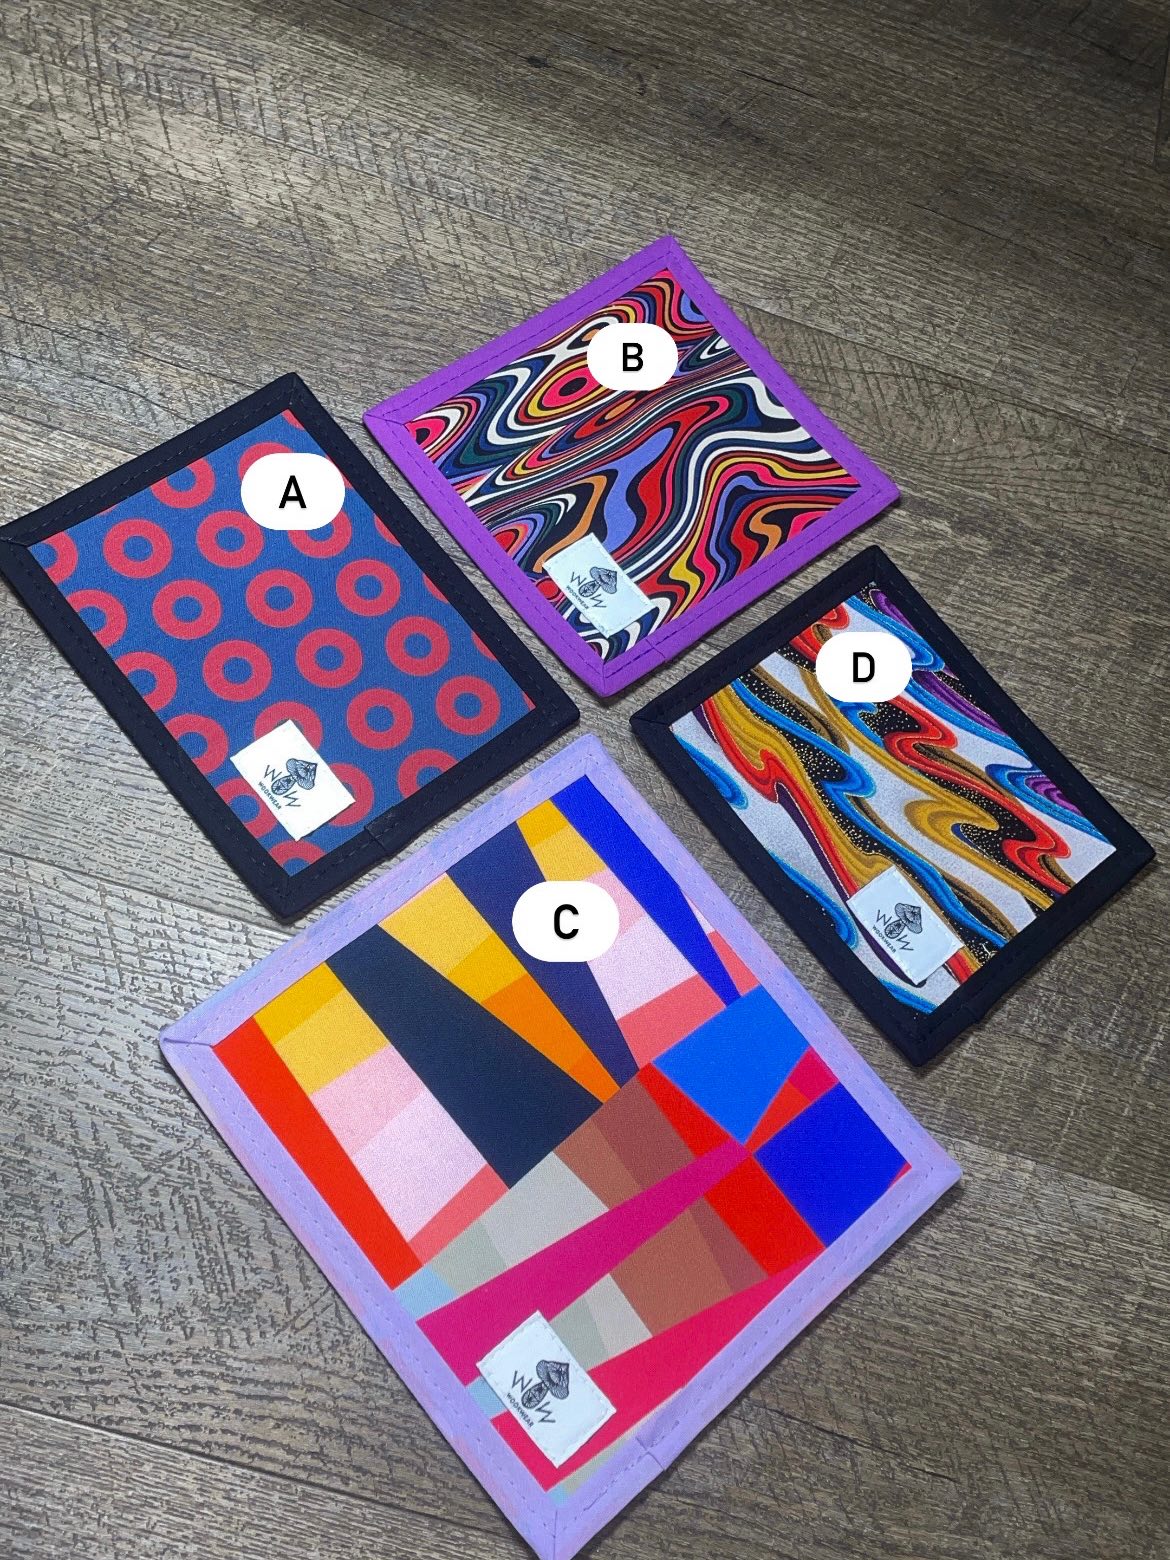
On display mats and pouches, the blanket stitch does double duty. First, it physically binds the layers together and prevents fraying. This is especially important on display mats that get rolled and unrolled constantly at festivals and markets. Second, the visible stitching becomes a design element. By using contrasting thread colors, you can turn a functional edge finish into a bold visual statement.
At Wook Wear, blanket stitch binding often appears in colors that pop against the main fabric. Think neon thread on dark denim, or rainbow-variegated thread on a checkerboard pouch. The stitch pattern creates a rhythmic visual texture that frames the piece like a border around a painting.
Tips for Beginners
Use a thimble. Seriously. Pushing a needle through multiple layers of canvas or denim hundreds of times will shred your fingertip without one. Also, don't cut your thread too long. Anything over eighteen inches tends to tangle and knot. It's faster to re-thread a few times than to untangle a mess halfway through your edge.